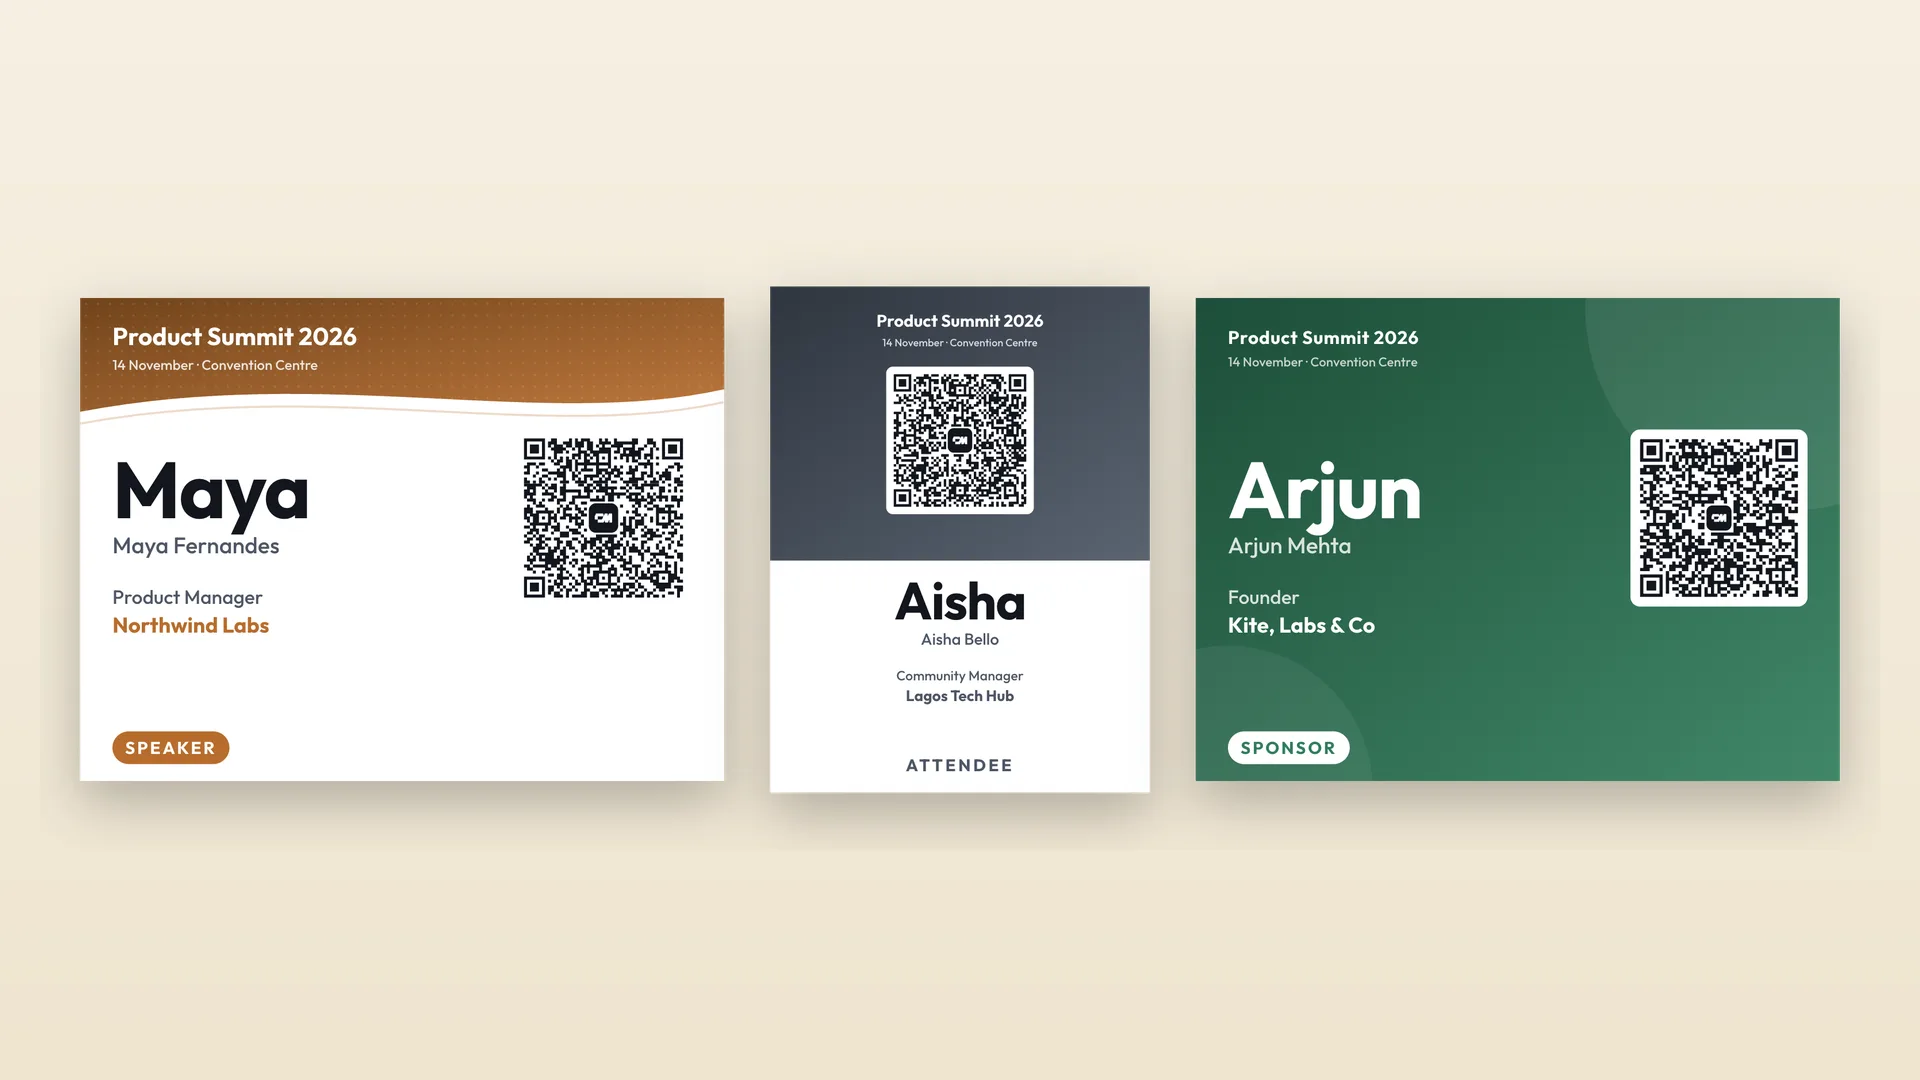
Most conference name badges fail at the one job they have. The event logo is huge, the attendee's name sits in 14-point type under it, and people end up leaning in and squinting at each other's chests. Nobody enjoys that part of networking.
This guide starts with five free name badge templates you can fill from your attendee list and print today. Then it covers the design rules behind them: how big the name should be, what to cut, and where a QR code earns its place.
Five free conference badge templates
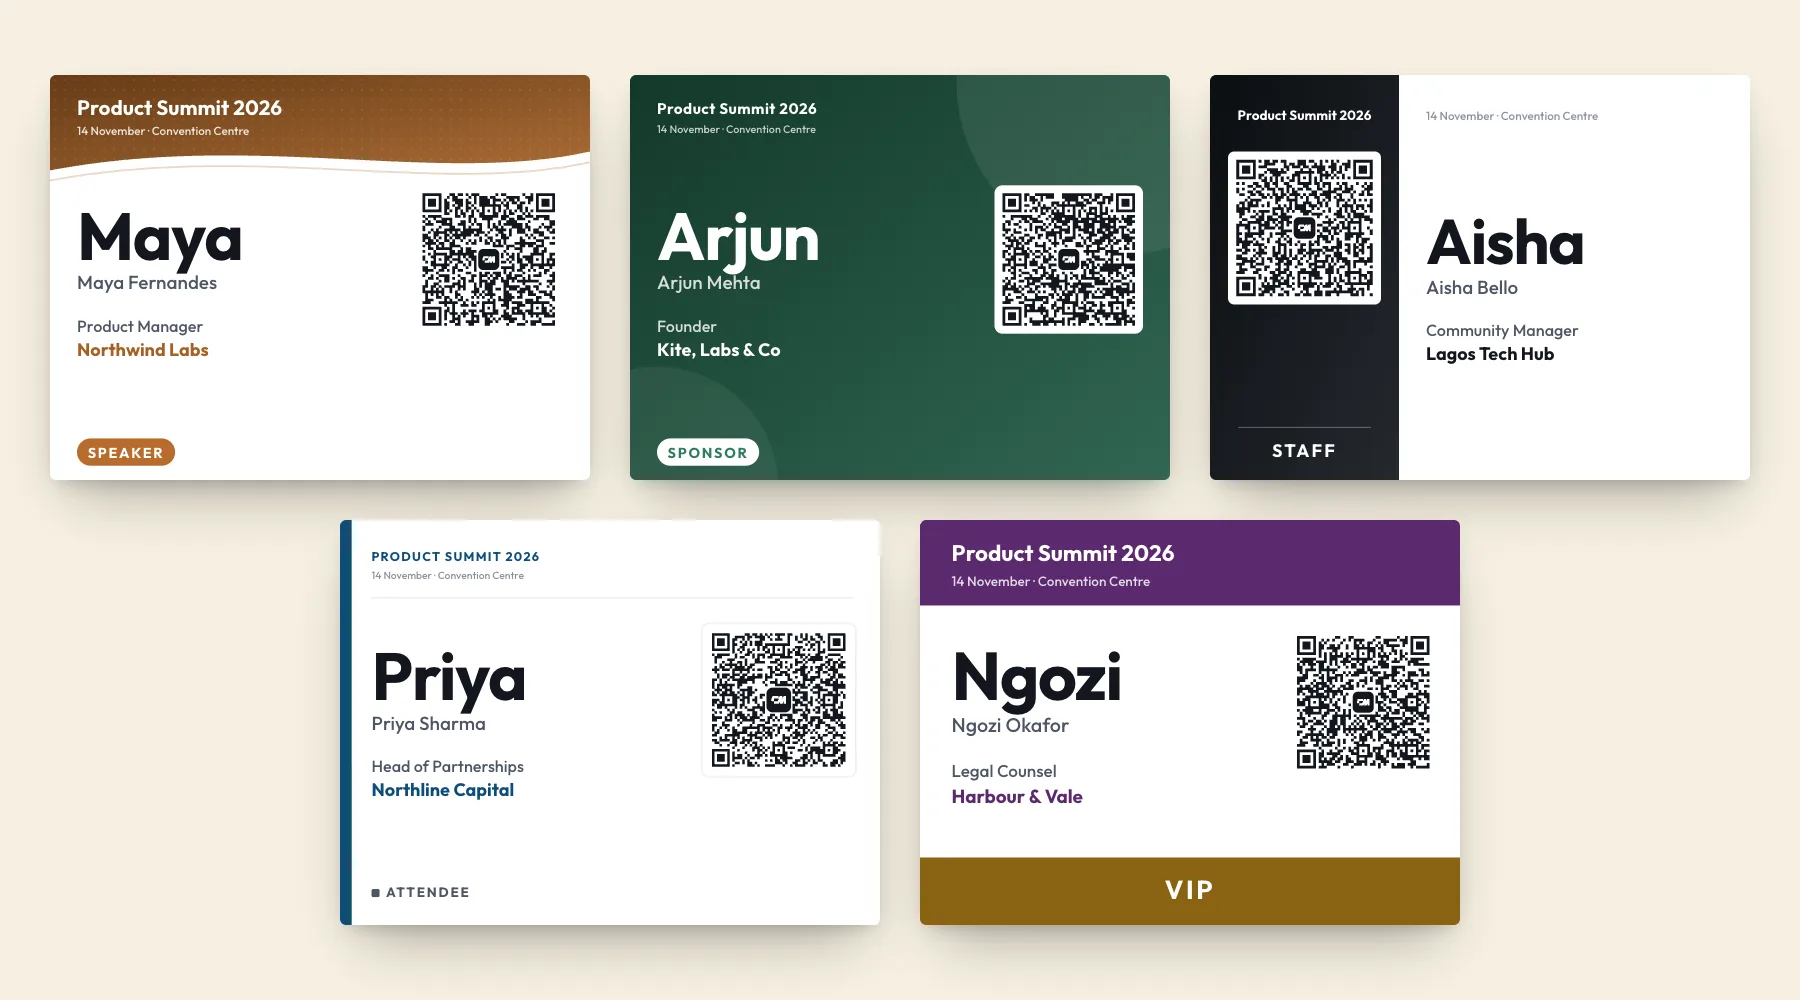
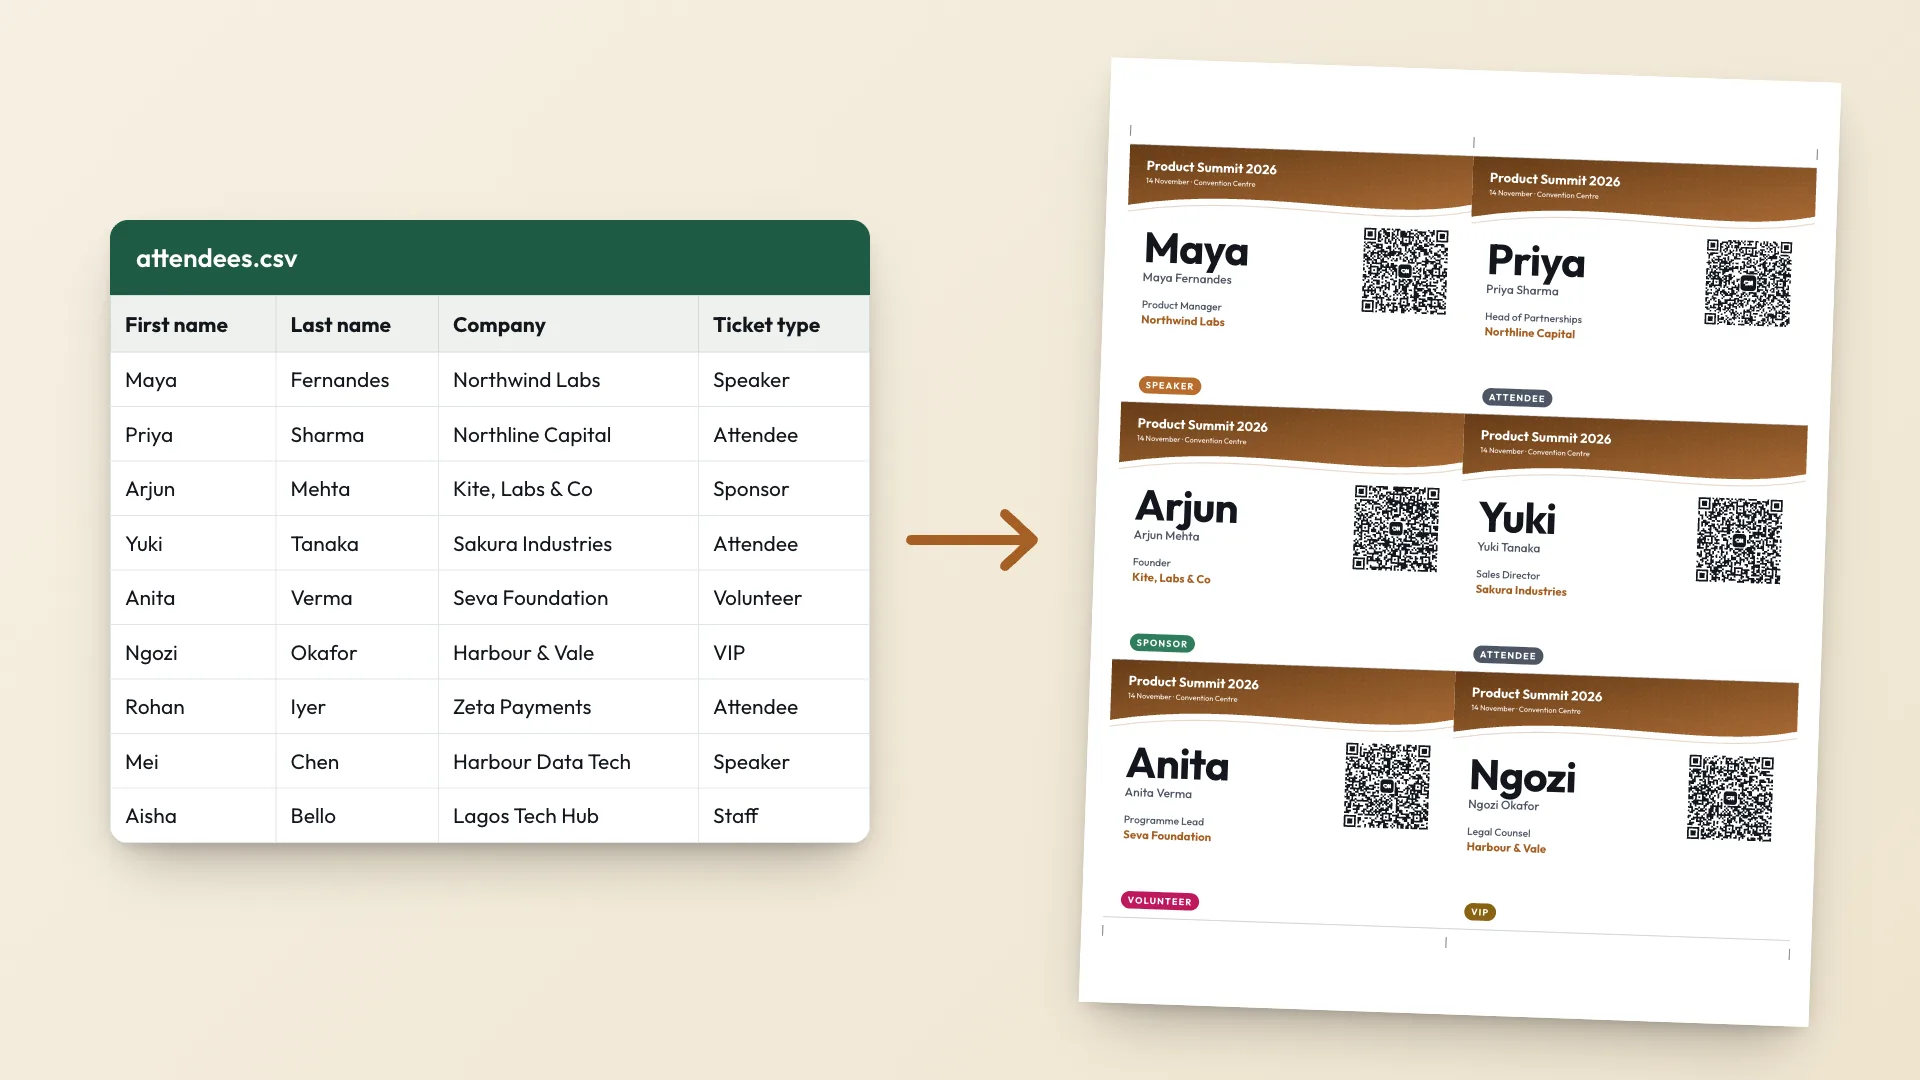
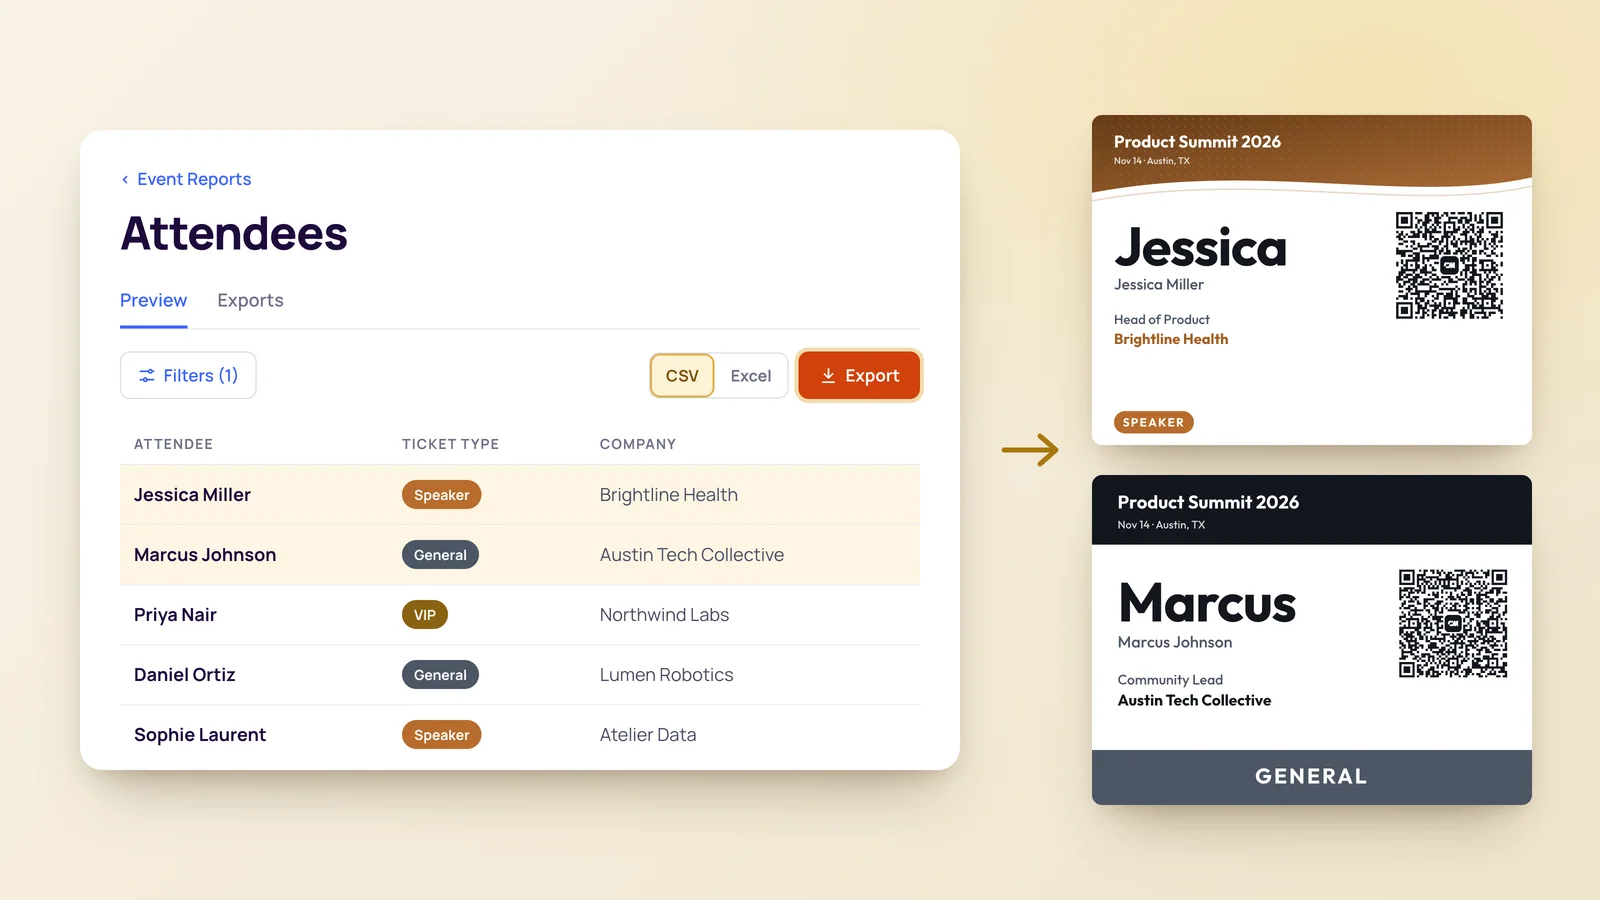
Every template comes from the free ConnectMachine event badge maker. Pick one, pick a colour, upload your attendee CSV, and you get one badge per row on A4 or US Letter with cut marks. No watermark, no attendee limit, no signup.
- Wave. A curved colour header for the event name. It is the most decorative of the five and suits speaker and keynote badges.
- Bold. The whole badge in your colour, with the QR code on a white tile. It is easy to spot across a hall, which is why it works for sponsors and staff.
- Split. A colour panel holds the event name and QR code, with the name on white beside it. It reads cleanly at lanyard height.
- Minimal. A thin colour stripe and lots of white. It uses the least ink and suits large attendee runs.
- Classic. A colour header and a full-width ribbon for the badge type, so a VIP or press badge is obvious at a glance.
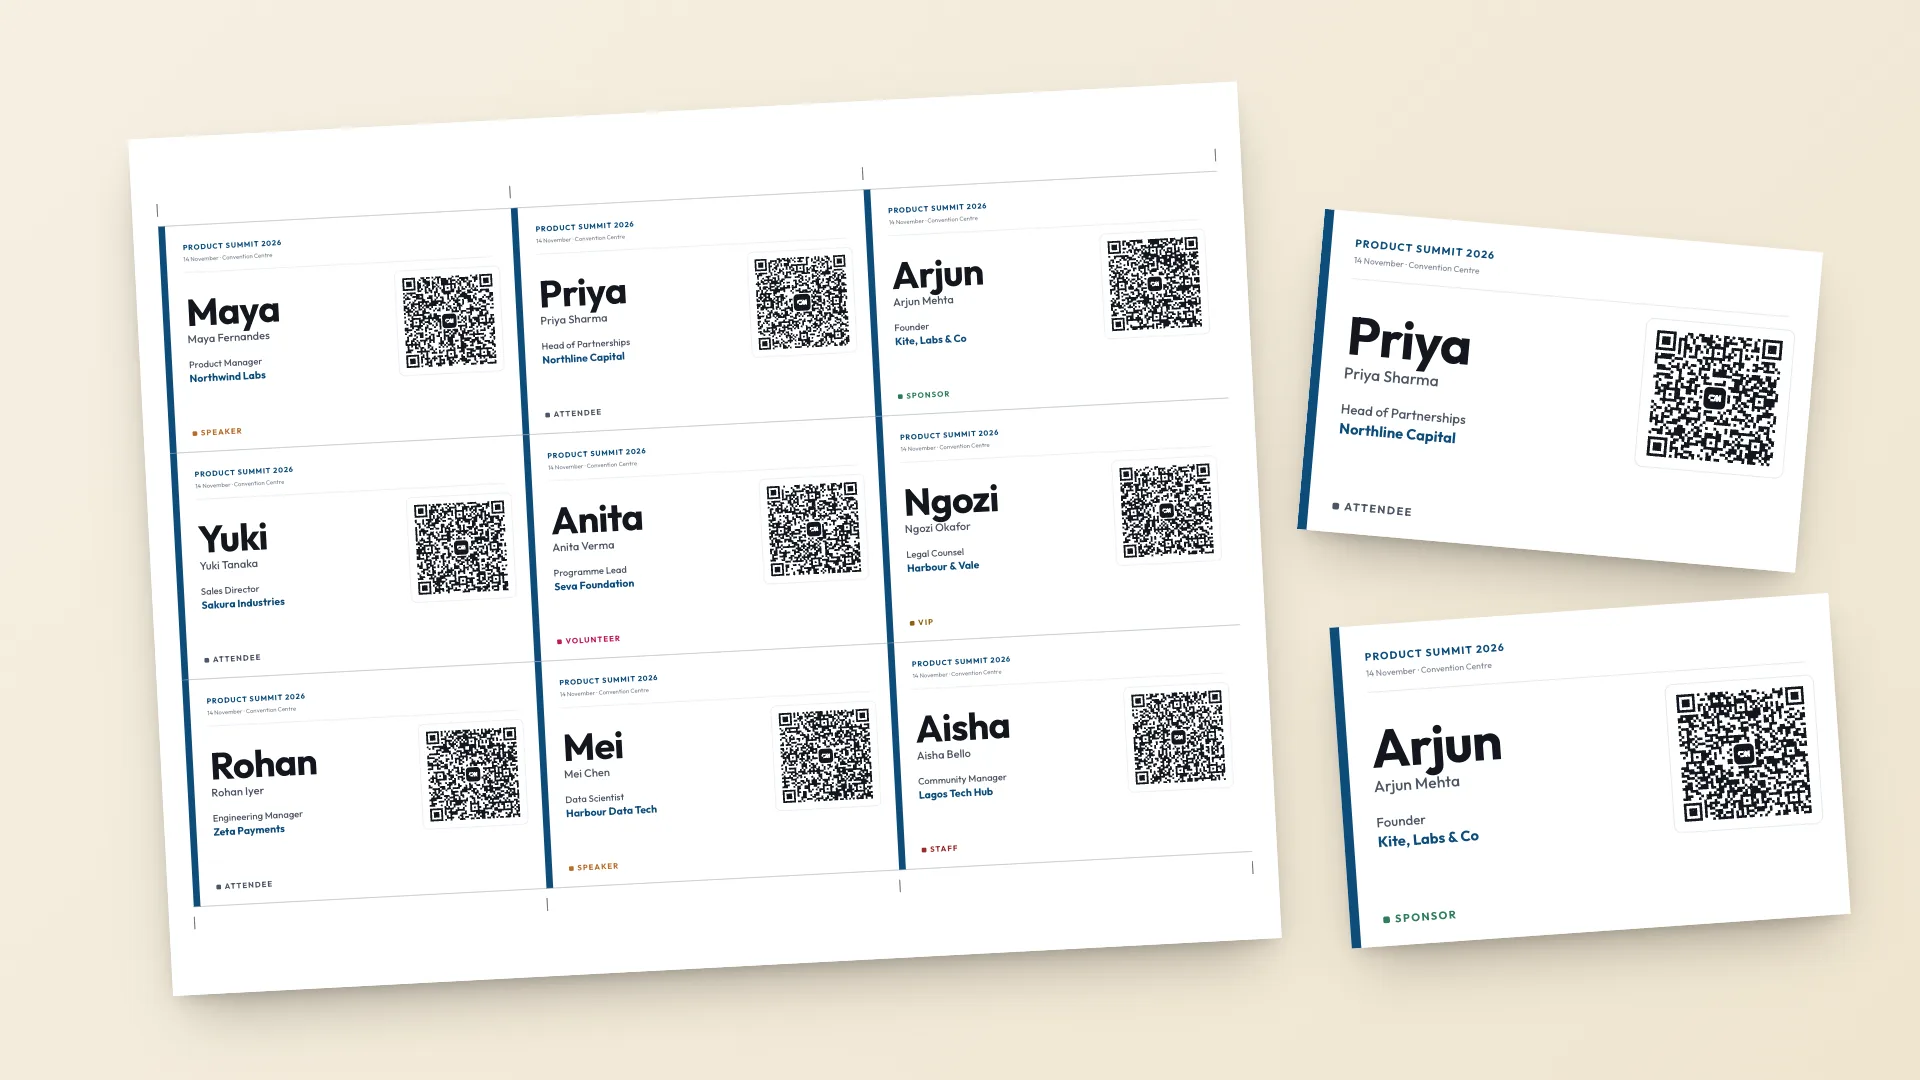
All five share the same layout: first name largest, then the full name, job title and company, then the badge type. That shared layout is the part that makes them readable.
What makes a name badge readable
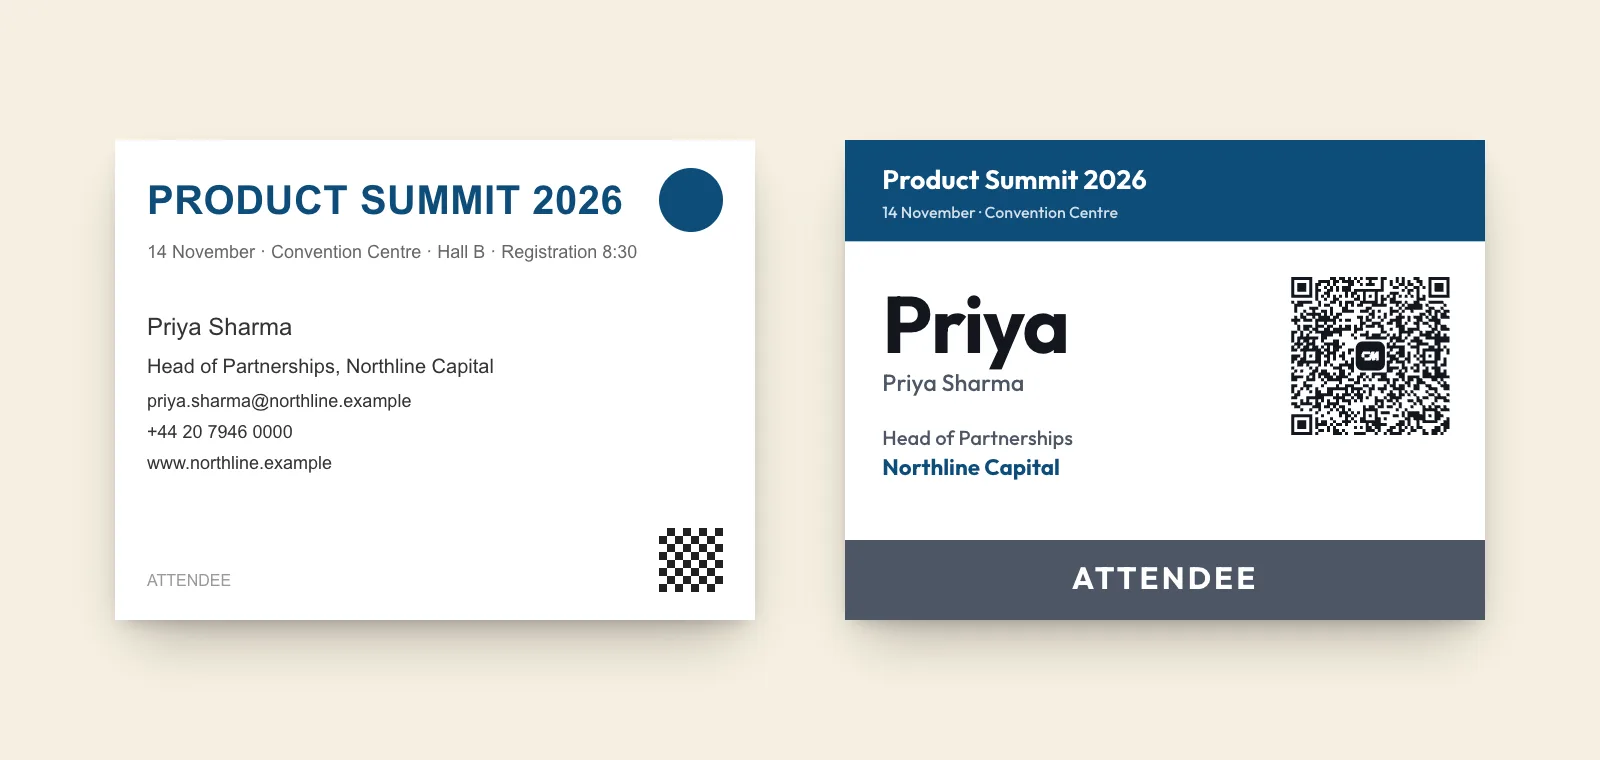
Make the first name the biggest thing on the badge
People read a badge to say hello, and hello needs a first name. Set it larger than anything else, including the event name. On our 4 x 3 in templates the first name is set at about half an inch, and the full name sits underneath at roughly a third of that size.
Sign makers use a rough rule of one inch of letter height for every 10 feet of reading distance. A badge can't get anywhere near that, so give the first name almost all of the space you have. Long names shrink to fit their line. They never get cut off with an ellipsis.
Use dark type on a plain background
Black or near-black on white is the safest choice. Photos, gradients and patterns behind the name cost legibility for no gain. If the brand colour has to go somewhere, put it in the header, a stripe or the badge type ribbon.
Give each badge type its own colour
Speakers, sponsors, staff and press should be easy to tell apart from across a room. Put a Badge type or Ticket type column in your CSV and each type gets its own colour automatically: Speaker, Sponsor, Staff, VIP, Press, Volunteer, Student, or any type you use. You can change any colour before printing.
What to leave off the badge
Every extra line makes the name smaller. These are the usual offenders:
- Email addresses and phone numbers. They are unreadable at badge size and put personal details on show all day. Put them in the QR code.
- A logo bigger than the name. Attendees already know which event they are at.
- Session times, hall numbers and Wi-Fi passwords. They change, and they belong in the app or on signage.
- Long taglines and sponsor logo strips.
- Full job titles that run three lines. Shorten them in the spreadsheet before you print.
Keep the event name, the first name, the full name, the job title, the company and the badge type. That is enough for someone to start a conversation and remember who they met.
Where the QR code goes, and what it should hold
Put the QR code on the front, next to the name. A code on the back is useless once the badge is in a holder, and lanyard badges spin anyway.
Size matters more than position. On our 4 x 3 in templates the code is just over an inch square, which a phone camera reads from a normal conversation distance. Going much smaller is a gamble. How small a QR code can be covers the limits in detail.
What the code holds matters most. Most badge QR codes exist for the organiser's door scanner and do nothing for the person reading them. A contact QR code holds that attendee's details as a contact card, so anyone who scans it with a phone camera can save them in one tap. No app, no business card swap, no searching LinkedIn later.
Privacy
Only encode what people agreed to share
Anyone who scans a badge can read its code. In the badge maker the name is always included. Job title, company, social profile and email are on by default, and phone stays off until you switch it on.
Say on the registration form that badges carry a contact QR code.
If your registration system needs its own check-in code, keep it separate. The contact code is for attendees, not for the door.
Sizes, holders and lanyards
4 x 3 in landscape is the standard conference badge and fits most clear holders. 3 x 4 in portrait suits vertical lanyard holders. 3.5 x 2.25 in is the usual stick-on name tag size. Check whether your holders are horizontal or vertical before you choose. The full list of badge and holder dimensions is in what size a name badge should be.
Print on 160 to 250 gsm card (65 to 110 lb cover) so badges stay flat in the holder. For a run of several hundred, compare home printing with a print shop first. How to print event badges breaks down cost per badge and lead time.
Make the badges from your attendee list
- 1
Export the list as CSV
From your registration tool or a spreadsheet. Guides for Eventbrite and Luma show where the export lives.
- 2
Pick a template, colour and size
Add the event name and logo. Flip through the preview to check your longest names.
- 3
Choose what the QR codes hold
Name is always in. Turn phone on only if attendees agreed to it.
- 4
Print at 100 percent
Choose Actual size in the print dialog, print one test sheet, then the full run.
The CSV is read in your browser and never uploaded, so there is no copy of your attendee list on our servers. For a step-by-step on cleaning the spreadsheet and checking column matching, see how to make 100 name tags from a spreadsheet.